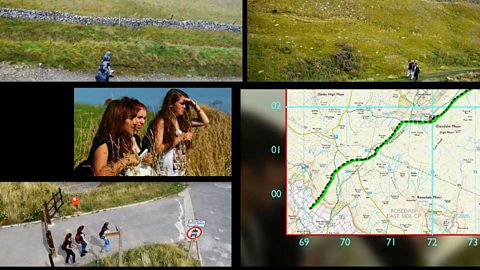
This clip explains how to use maps and signposts to identify different public rights of way.
Video
KS3 Geography. Maps and navigation.
Public rights of way
JOE CROWLEY: Maps detail all kinds of routes criss-crossing the page. There’s footpaths, bridleways, all different types of roads. But what exactly do they all mean and where are you allowed to walk? On the 1:25 000 scale map typically used by walkers the most obvious paths people are allowed to use are marked as green lines. These are public rights of way. They’re open to everyone. They can be roads, paths, or tracks and can run through towns, countryside or even through private property. That means you could walk through someone’s back yard if there’s a public right of way.
There are a number of different types of public rights of way apart from roads. Footpaths are marked by a closely dashed line and these let you go by foot only. Bridleways are marked by longer dashes. On these you can travel by foot, horse, or bike. And restricted byways let you travel by any form of transport that doesn’t have a motor.
But just because a path isn’t marked in green doesn’t mean you’re forbidden to walk on it. Paths marked in orange are what’s called permissive rights of way. There’s no automatic right to walk on them but a landowner has granted access voluntarily. This access can be withdrawn though at any time. Other paths are marked in black and typically run through private land but again that doesn’t always mean you can’t walk on them or that you have to seek special permission.
Now this is an interesting example. This route here is a bridleway and it’s marked on the map with a green dotted line meaning it’s a public right of way. But this footpath over here is only marked on the map with a black dotted line. So can I walk along it? Well, the answer in this case is ‘yes’, because this area is all access land, which means the public by law has a right to roam here, and these areas are marked clearly on the map. You’ll find access land is marked with an orange boundary and it has a yellow tint. There may be restrictions to the right to roam at certain times of the year. These can be for a variety of reasons - such as protecting nesting birds, or avoiding bird shoots. At these times walkers should stick to the paths.
So don’t be baffled by all the different routes and lines drawn on a map. It is actually very straightforward and if you do get confused just take a look at the key.
Download/print a transcript of the video.
Using maps to identify different public rights of way.
Public rights of way are indicated on Ordnance Survey maps with green triangles and green dashed lines. Bridleways, which are marked by longer dashed green lines, permit horse riders and cyclists. Restricted byways allow people to travel by any form of transport that does not use a motor.
Another set of paths commonly found on maps are marked in orange and these are permissive rights of way. They mean that a landowner has granted access to use the path in some circumstances. Other areas are known as right to roam areas – paths can be marked here with black dotted lines. Access land has a yellow tint and is marked by an orange boundary. Sometimes restrictions are placed on access land and information can usually be found on noticeboards.
This clip was originally from the series Get Lost.
Teacher notes
Download/print the Teacher Notes for this episode (pdf).
Before watching the video
Show a range of public rights of way symbols on the map and ask students what they think those symbols mean. Ask students where they would expect to find those symbols on a map and what they would look like in real life.
Introduce key terms such as:
Footpath: A path or trail specifically designed for pedestrian use. On a 1:25,000 map they are green closely dashed lines.
Bridleway: A path along which you can travel by foot, horse or bike. These are lines made of longer dashes.
Byway: A minor, often unpaved, road or track used for walking, riding and sometimes vehicular traffic (depending on the type of byway)
During the video
You may wish to stop at relevant points during this short film to pose questions and check understanding or wait until the end.
Useful questions might include:
- What are the different types of rights of way?
- What are permissive rights of way?
- What is access land?
- What restrictions might there be on access land?
- Why is it important to be able to read symbols on an OS map?
After watching
Use OS maps with your class asking them to pick out different locations on the map using grid references. Four-figure grid references could be used first and then six-figure grid references once students feel more confident. Students could then pick out 10 grid references on the map to test their peers with.
Students could also plan routes between two locations using different types of paths. They could describe the route between the two using geographical vocabulary, including compass directions.
1:25,000 and 1:50,000 maps could be used to show the differences in scale and how grid references can be used in the same way across both scale maps.
If you have the opportunity to take students outside of school, this would be a great opportunity to get students practising using a map and applying to the real world.
Where next?The Ordnance Survey website provides a great opportunity to practice different skills and gain helpful hints and tips on all aspects of map reading.
Curriculum notes
This clip will be relevant for teaching Geography.
This topic appears in OCR, Edexcel, AQA, WJEC KS4/GCSE in England and Wales, CCEA GCSE in Northern Ireland and SQA National 4/5 in Scotland
More videos from this series
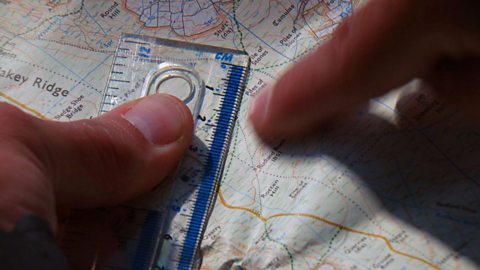
Using maps to calculate distance. video
Demonstrating how to use the scale of a map to work out distances.
Co-ordinates and grid references. video
How to use latitude and longitude or grid references to work out precise location.
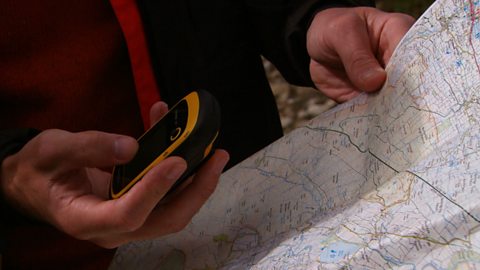
Contour lines and gradients. video
Demonstrating how contour lines can be used to understand gradients.
What is 'geocaching'? video
Geocaching - a high-tech treasure hunt anyone can play with a smartphone.